These instructions will help you connect your iGuardStove to your wireless network. There are several ways to do it depending on the firmware that your iGuard has. To find out which watch the screen when you first power your iGuard.
- If the firmware reads “v3.X” then either of the 3 methods will work.
- If it reads 4 digits, such as “v2501” as an example, then only methods 2 or 3 will work.
Method 1 – Uses a smart phone app and only works on iGuards that use 3.X firmware
Method 2 – Using WPS to connect is super easy
Method 3 – Selecting your home’s wi-fi network and entering a password
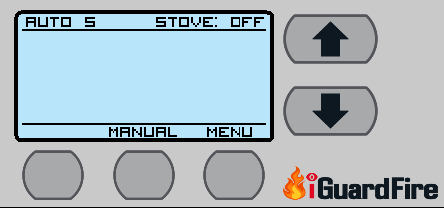
To begin the Wireless Network process press and hold the “Menu” button on the control panel for 2 seconds to enter the iGuard’s Menu section.
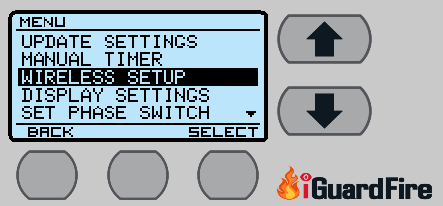
Using the Up/Down arrows to the right of the screen scroll down to “Wireless Setup” and press “Select”.
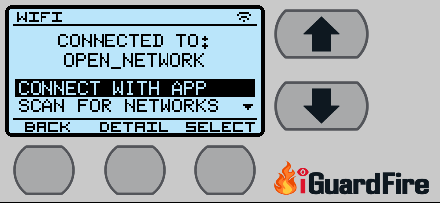
Method 1 – For “v3.X” firmware only. Using the “Connect Using App” feature allows you to use the keyboard on your smart phone to enter lengthy passwords and other information.
Highlight the “Connect with App” option and under the screen press the right hand button labelled “Select”
After selecting Connect with App a QR Code will appear so you can quickly download the version that you need for you iPhone or Android. You can all get this QR Code in the user manual.
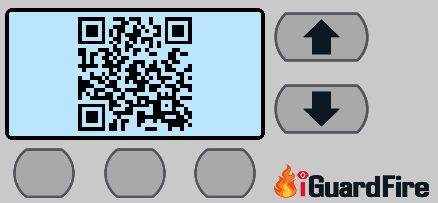

Aim your phone's camera at this code.
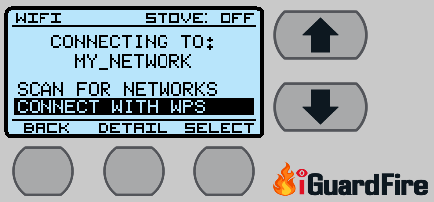
Method 2 – If your router has the “Connect Using WPS” feature this choose this. It’s a quick connect method for newer routers that have the WPS feature. This eliminates the need to enter lengthy passwords and other information.
Highlight the “Connect with WPS” option and under the screen press the right hand button labelled “Select”
You then have up to 300 seconds to press the “WPS” button on the router and then the 2 devices will automatically connect and introduce themselves. You will see the on screen timer start to count down from 300.
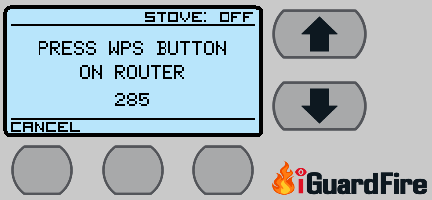
Method 3 – If your router does not have the “WPS” feature then connect using this manual method.
After entering into the “Wireless Setup” section using the Up/Down arrows on the right of the screen scroll down and using the “Select” button choose “Scan for Networks”.
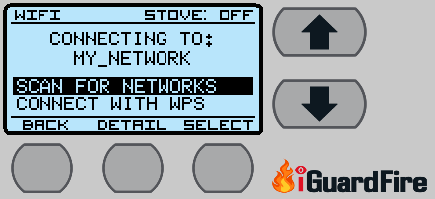
Using the Up/Down arrows highlight your Network Name and then press “Select”.
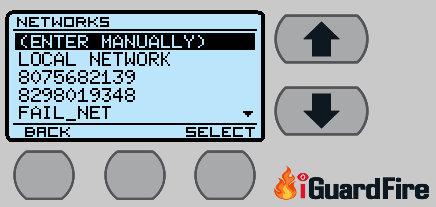
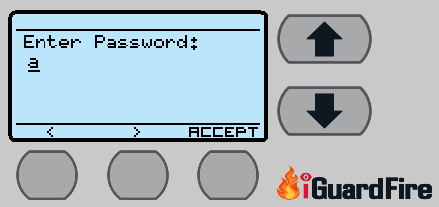
Then enter your password using the Up/Down arrows to scroll through lower cases letters, upper case and the numbers and symbols. Select the first character and then using the middle button labelled “>” move to next position to the right and then repeat the process for the second character. Continue until you have the password complete and then press the “Accept” button. Do not press the “Accept” button until it’s complete.
After that press the “Back” button a couple times to return to the Main screen.
Signal Strength
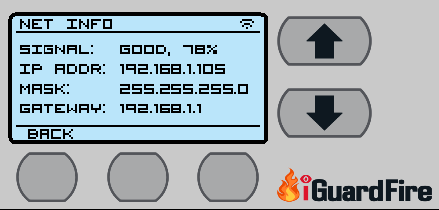
To check the Wi-Fi signal strength while under Wireless Setup choose Details which is the middle button.
This will show your signal strength that the iGuardStove is receiving from your Wi-Fi router. Make sure it is over 50% or you might have connection problems. You might have to relocate your wireless router or add a booster.

